

Do you want to know how to use a Stanley Fatmax jump starter? That’s exactly what this article is all about. Let’s quickly give a quick review of the jump starter. Apart from its ability to jumpstart vehicles, it comes with an air compressor for your tires and three USB ports to charge your smartphones and other smaller devices.
There’s a very bright LED light to give you a clear view of what you’re doing at night. Also, it has a display unit that shows the battery level and the pressure level of your car tires. In addition, you’ll love its handle, which makes it easy to carry the 10-pounder around.
One safety feature that puts the Stanley Fatmax ahead of others is its reverse polarity alarm. While trying to jumpstart your battery, if you mistakenly connect the clamps to the wrong battery terminals, the reverse polarity alarm will go off. On the other hand, if you connect the clamps the right way, you’ll get a beep of acknowledgment.
Its yellow color makes it stand out in the crowd. Well, there’s one little feature that we don’t like about it, and you may not like it either. It takes too long to charge. The device takes about 12 to 14 hours to charge, and we think that’s a little too long. However, there’s a workaround for it. Charge the device after every jumpstarting session. That way, it will only take a few minutes to charge.
When the battery is fully charged, this beast can jumpstart up to 40 vehicles before it gets weak. We tried it on a Toyota Prado SUV whose battery had been left for more than four months. At first, it roared and roared but didn’t start. It didn’t start at the second attempt either, but there was more life in the sound of the engine. So, we were sure it would eventually start, and it did, at the third attempt.
Well, it jumpstarted other vehicles at the very first attempt. So, the problem with the Toyota Prado SUV was a flat dead battery.
Stanley Fatmax Jump Starter Instructions: How To Use The Device
Before you do anything, you need to confirm that the jump starter is fully charged. Of course, it will arrive pre-charged. However, you must charge it to 100% before you use it. The level of its battery is indicated on the LCD display unit.
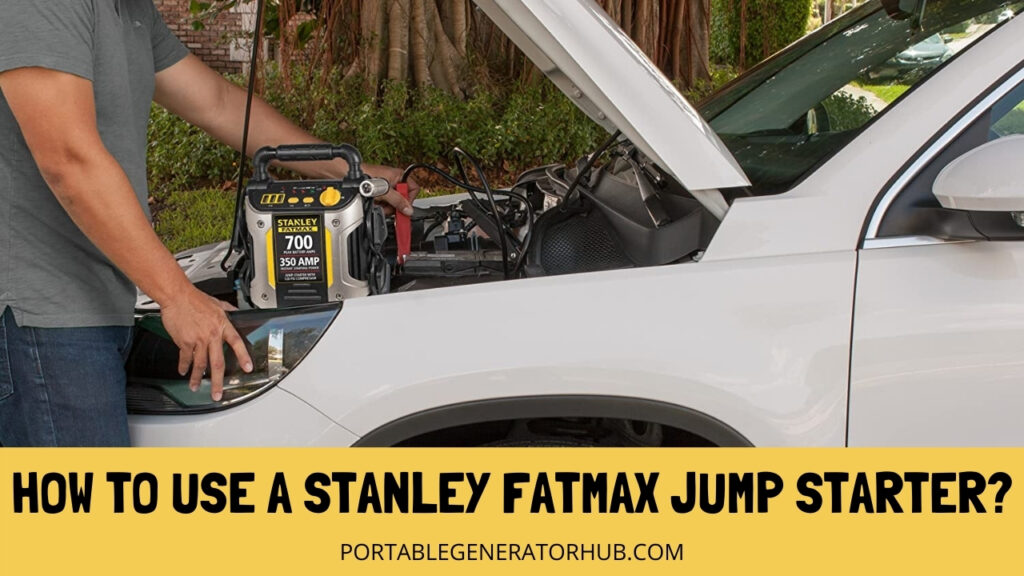
Step 1 – Open The Hood Of Your Vehicle
To jumpstart any vehicle, the first step is to open your hood, where you’ll see the battery. Place the jump starter somewhere flat and level to prevent it from dropping when you crank your engine. Then, you need to press the “battery” button. The display unit will show the voltage the jump starter has. It should be at least 12 volts. If not, it won’t jumpstart your vehicle. Now, you can turn on the jumpstarting feature. Look for a red knob at the lower right side of the front panel of the unit. Turn the knob 90-degrees in a clockwise direction.
Step 2 – Connect The Clamps
You’ll observe that the device has two jumper cables and each of the ends with a clamp. One clamp is red and the other is black. The red clamp is for the positive battery terminal and the other black clamp is for the negative battery terminal.
Before you connect the clamp, look at the battery terminals carefully for corrosion. If any, you may want to wash it off. A buildup of corrosion prevents the clamp from connecting firmly to the battery terminals. Now, try to identify the positive battery terminal. It usually has a positive sign on it. And it could also be labeled “P” or “POS.”
If you can’t identify it, fine. You’ll have to depend on the reverse polarity alarm. Connect the red clamp to any terminal and the black to the second terminal. If you get it wrong, the alarm will go off immediately. If it does, swap the connections and you’re good.
When you get it right, you should get a beep of confirmation.
Step 3 – Turn Your Engine On
Go into your car and start your engine. It should start at the first attempt, but if it doesn’t, don’t crank it longer than 5 seconds before you stop. Wait for some minutes and try it again. And if it starts, leave the car to run for about 15 to 20 minutes before you move.
Step 4 – Disconnect The Jump Starter
When you have been able to start your car, gently switch off the jump starter by turning the red knob 90 degrees counterclockwise. After that, you can disconnect the black clamp and then disconnect the red clamp.
Remove the jump starter and close the hood of your car. You can put the jump starter inside the trunk of your car, but be careful. If you live in a very hot part of the country, the trunk of your car may be too hot. At the same time, if you live in a cold part, the trunk of your car may be too cold.
The best temperature for your jump starter is 50 – 70 degrees F. Anything outside the temperature bracket will make the jump starter lose its charge.
Step 5 – Charge The Unit
Don’t forget to charge the jump starter when you get back home. Normally, it takes about 12 – 14 hours to charge the device from zero to 100%. But since you’ve just used it once, it may get charged sooner. It is better to charge the jump starter overnight.
That’s all it takes to jumpstart your vehicle with this wonderful jumper. Isn’t it easy to use? With the jump starter in your trunk, you won’t need to beg other motorists to help you jumpstart your battery if it goes down.
What Kind Of Battery Is In A Stanley FatMax?
There are several models of Stanley FatMax. All of them come with a rechargeable lithium battery. However, different models come with different battery capacities. Depending on the model, here are the battery capacities of Stanley Fatmax jump starters
- 600 peak amps
- 700 peak amps
- 1000 peak amps
- 1400 peak amps
At this juncture, it is necessary to make it clear that all the batteries can jumpstart any kind of vehicle, be it a motorcycle, car, bus, SUV, and even a truck. Moreover, if you don’t use your jump starter often, you must charge it at least once every three months.
How Do You Charge A Stanley FatMax Jump Starter?
This is easy and straightforward. It comes with a charger. Bring out the charger and plug it into an outlet. Then, you’ll connect the USB-C end of the charger to the USB-C port of the jump starter. You can now switch on the outlet, and your device will begin to charge.
It will take a maximum of 14 hours to charge the device, depending on its current battery level. And when it is full, the indicator will show it. You can remove it and store it.
How Long Does It Take To Charge A Stanley Jump Starter?
As explained above, it takes 12 to 14 hours to charge the device from zero to 100%, but don’t let that bother you. This will only happen once. After charging it to 100%, make sure you charge it after every jumpstarting session. That way, it won’t take up to 2 hours to charge it fully.
Here’s a warning. Even if the battery of the jump starter is 90% full when you receive it, don’t start using it without charging it to 100%. You’ll shorten its lifespan if you do.
Why Does My Stanley Fatmax Jump Starter Not Charge?
There are a couple of reasons why your jump starter won’t charge. First, is the battery okay? When the battery of your jump starter is damaged, it won’t charge. In that case, you need to change the battery. However, don’t jump to a conclusion. Is your power outlet okay? Does your power outlet supply power?
You must first confirm that the outlet is supplying power. This is necessary because there was an elderly user that complained that his jump starter didn’t charge. Later, he sent us an email that he forgot to switch on the outlet. It is quite easy to overlook simple things like that.
If your outlet is fine and it supplies power and your jump starter does not start, the battery may be the problem. Also, the charger could be the problem. You can charge the jump starter with the charger of your Android smartphone. Try to charge the jump starter with the charger of your smartphone. If it works, then the charger is the problem. Change it.
If it does not work, then the problem is beyond you. If your jump starter is still under warranty, you can contact the supplier of the product.
Final Thoughts
By all standards, the Stanley Fatmax jump starter is one of the best in the market. If you take proper care of it, the unit will serve you for more up to 10 years and more. Based on our experience, we will recommend the product.


