

Do you consider buying portable jump starters with 12V DC outlets? If yes, then opt for Instant Power jumpers instead.
You see, lead-acid batteries need a powerful jump starter to resuscitate when they are dead. If they fail to come alive, check the quality of the jump starter you’re using at a point in time if it’s not an Instant Power jump starter.
Since the jump starter has a high amperage that’s fair enough to surge life back to your car’s engine, then there shouldn’t be anything halting the battery to come back alive.
However, one incredible thing about using Instant Power jump starters is that they save you stress. They are made by the renowned Schumacher, actually. The company has numerous types, but two models are currently raving in the marketplace that you can bank on anytime.
With five attempts, you should get your 12V DC car battery working again. Failure to resurge is obviously an extended purview – their products are so that reliable.
As a matter of fact, their respective performances over the years in the marketplace apprise the durability and maximum dependability you’ll entrust in them.
The two popular models are the XP400 and the XP750C. They are jump starters, so you should expect clamps from their deliveries and other related accessories.
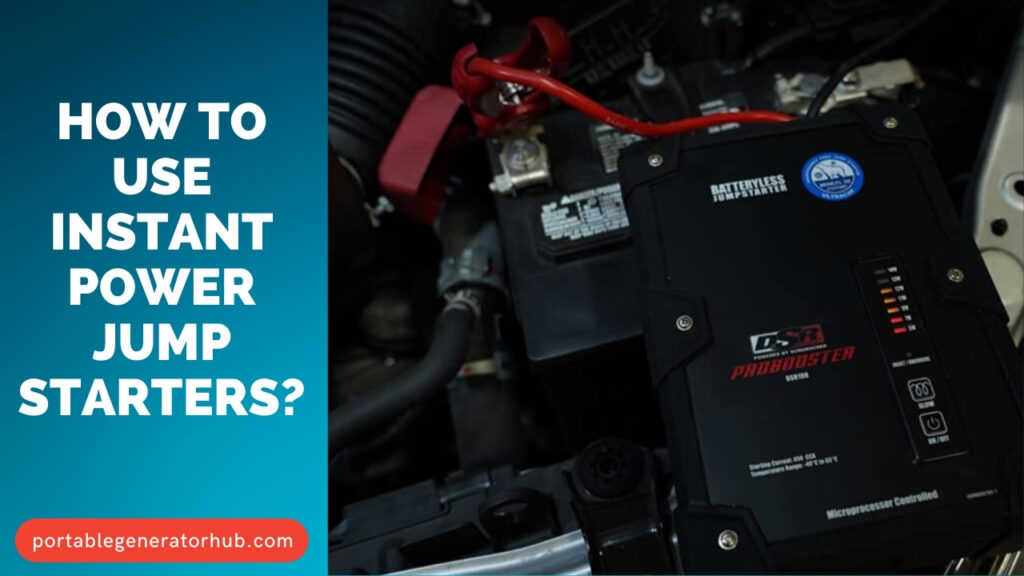
Moreover, they have ergonomic structures too. Therefore, you can use them anywhere since their jumper cables are so long. You can check out more points below to have more ideas about How to Use Instant Power Jump Starters.
6 Things To Consider About How To Use Instant Power Jump Starter:
1. Features Of The XP400 Model
The peak amperage of this is 400Amps, while the cranking amperage is 116A. There are simple features in the exquisite design, and you can easily see them on the exterior part of the jump starter.
It has a handle at the top, which makes lugging it around quite easier. The ambiance serves as the holster for saving the clamps after use, and the sides are already carved out for that sole purpose.
Just on the uppermost side, there is a built-in flashlight that emits light from the front. Users can hold the XP400 model closely while they stay behind it to allow the rays of light to emit. There is an auto-start feature on this that makes the use effortlessly awesome.
2. Jumpstarting With The XP400 Model
- Read the manual once you receive the delivery of the product. Release the clamps from the supports to get the jumpstarting process underway.
- Make sure that neither the power of the car nor the power bank is on. Clip the positive clamp onto the positive terminal of the car battery. The black clamp is negative, so clip it on the negative terminal.
- Provided you noticed the tips of the terminals are rusty, then you can scrape off the dirt with sharp tools.
- It automatically jumpstarts immediately you clip the alligator clamps on their corresponding terminals.
- Don’t turn on the power switch of the XP400 until you’ve mounted the alligator clamps already.
- It’s afterward, about 4min after, that you can hop inside your vehicle and turn on the vehicle’s ignition switch. Put an interval of a minute to every ignition you make while the clamps steadfastly grip the tip of the terminals.
- In a case you make between five to eight attempts and nothing works, then you might need to extend your scope of research.
- If the exercise turns out positive, then you’d need to remove the clamps from the terminals and save the entire jump starter.
3. Recharging Your XP400
There are three LED lights on it. The one that glows at a point in time determines the power level gauge. There is a red LED that illuminates when the power level percentage is less than 20%.
The yellow LED light glows when the battery level gauge is between 20% and 80%. The green LED light only illuminates when the range of stored battery levels is between 80% and 100%. They all serve as the indicator of the battery level per time, and users often use the indicator to decipher the condition of the battery.
There is a function on it called the battery status. Pushing down the button will prompt the right LED light among the three to apprise the current battery status. It could take 24hrs for the XP400 to become fully recharged. XP400 is a good power source for 12V DC accessories.
4. XP750C Product Description
This consists of high performance than the XP400. In fact, aside from the rechargeable capacity via the port behind, users can also utilize the air compressor option.
Meanwhile, it comes with the full air compressor’s accessories to have instant use of the unit. Of course, notable features come with the delivery of the product.
It comes with clamps for jumpstarting likewise. There is no difference between the procedures of jumpstarting with an XP400 and XP750C. As long as one uses the basic safety principles, there is nothing to bother about at all. Therefore, let’s check out the perfect methods of using the air compressor of the XP750C.
5. Using The XP750C Air Compressor
- You can use the manual to identify the components that are responsible for this exercise. Nonetheless, just as there are designated holsters for the saving of clamps, you’ll find cleats that save the air compressor hose at the backside.
- Take the air compressor to where it will be needful. You can use it for inflating vehicle tires, bike tires, and so much more. Nevertheless, you would only need an adapter that suits the valve of the recipient material.
- There is an air compressor switch on the Instant Power jump starter. It’s at the backside of the unit and likewise the air compressor gauge. However, you’d need to switch on the power of the jump starter before you can use the air compressor.
- Fix the air compressor hose that has the appropriate adapter from the jump starter to the opened valve of the flared tire.
- Press the “start” button on the jump starter to get the air moving straight inside the tire. You might need to check if the air is not effusing from leaks on the tire itself.
6. Maintenance Of Instant Power Jump Starters
Be it XP400 or XP750C, users are obliged to ensure that it’s properly maintained to have long-term use of the unit. It’s expedient that users clean the unit often and save it in a cool place after use.
Users are also expected to charge the Instant Power jump starter after using it for one task or the other. Also, they are to ensure that they don’t charge their gadgets with the jump starter when charging the internal battery of the jump starter.
Moreover, it’s essential for users always to check the unit’s battery status every now and then not to underuse the jump starter.
How Do You Use An Instant Power Jump Box?
There are quite a multiple things you can use your Instant Power jump box for whether you’re a mechanic or a DIYer. Every feature a model of the Schumacher instant power jump starter has is magnificent. A working flashlight is visible at the front side of the box – it’s primarily seen in all the models.
You’ll be fascinated with the use of an Instant power jump starter because of the inscriptions on the functions. You can easily decipher what a function stands for by merely seeing it. Also, some ports stand for one significance or the other. Although none comes with an extension cord, yet you can always get one at any time and use it for them. Basically, the ports are used for charging gadgets.
How Do I Charge My Instant Power Jump Starter?
We are considering two models here, and this is how you can charge each of their internal batteries. Users are to charge the jump starters at the back. The charger comes with the delivery of the two models, and it’s easy to identify. Just grab it and plug it inside a 120V AC power outlet while the pin goes straight into the designated “receptacle” at the back. Once it does that, the red LED light will be on immediately, while the green LED light will come up in place of the red LED light when the battery is full.
How Do I Know When My Instant Power Is Fully Charged?
Insert the charger inside a 120V AC power outlet while the other side of the cord goes straight into the designated port at the back. Check the LED lights; if the red LED light glows, then it means the unit is not ultimately charged. Whenever the green LED light comes up, it means the battery is fully charged.
Final Thoughts
You’ve learned how to use Instant Power jump starters already, and you’ve known the similarities and the differences between XP750C and XP400. Now, you can use either of the two as a PRO. You can still use some of the logic here to proffer solutions to some other challenges you may encounter from other models. The points here are practical ones with an explicit illustration that can make things so excellent for you while using them.

